

Free pattern - Seamless Wedding Afghan

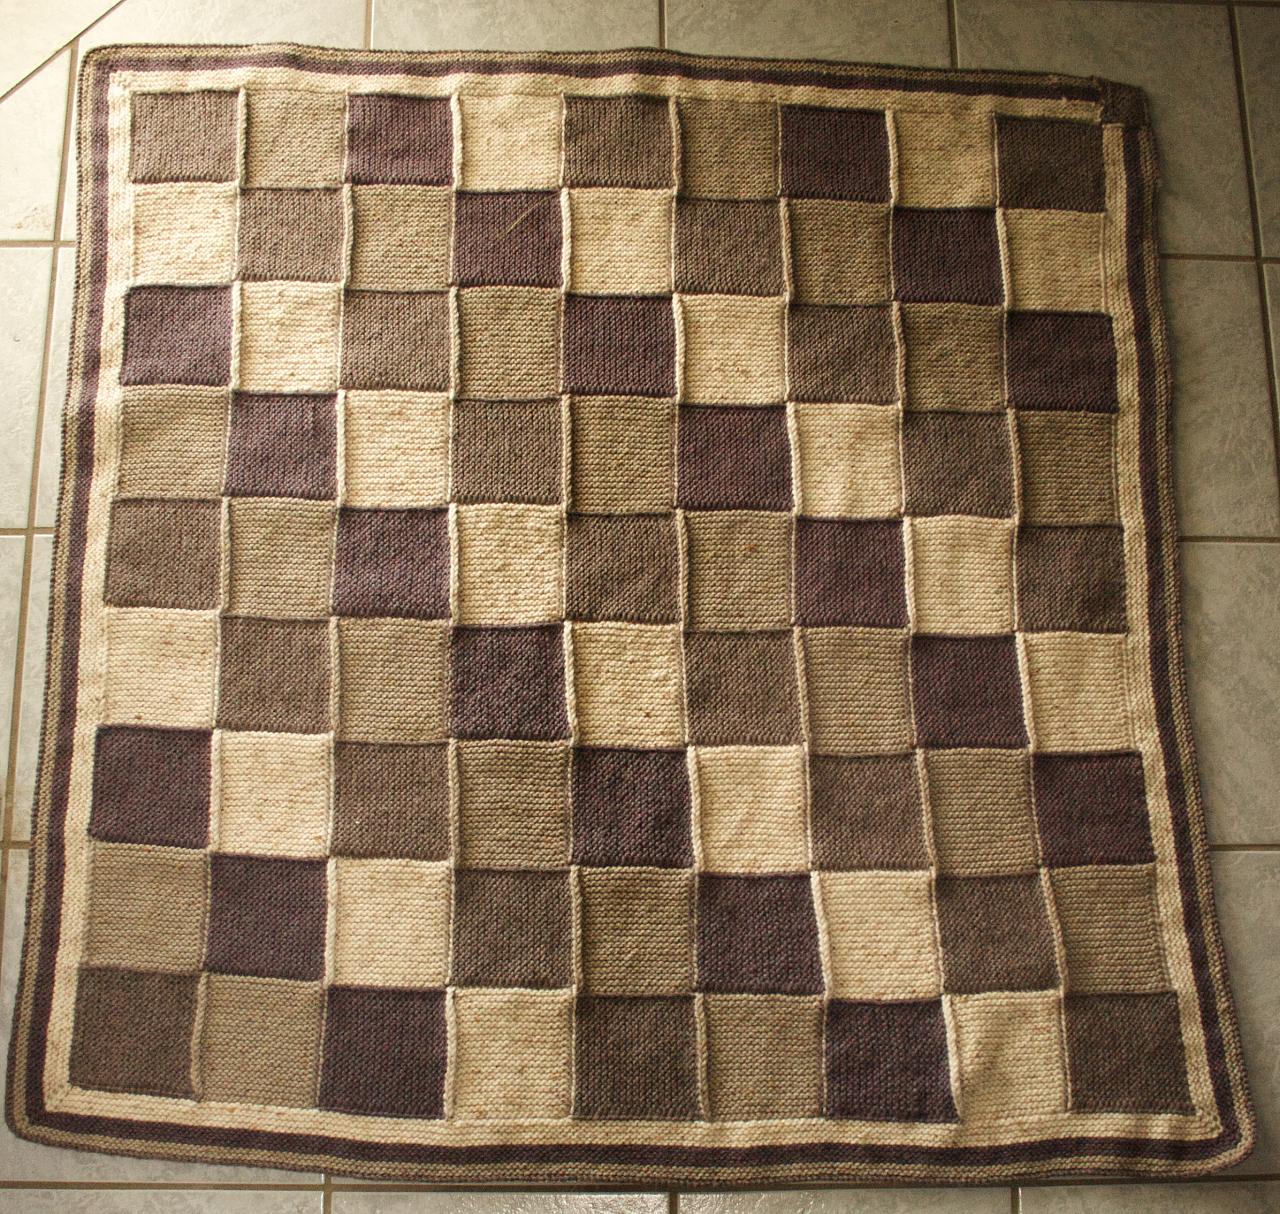
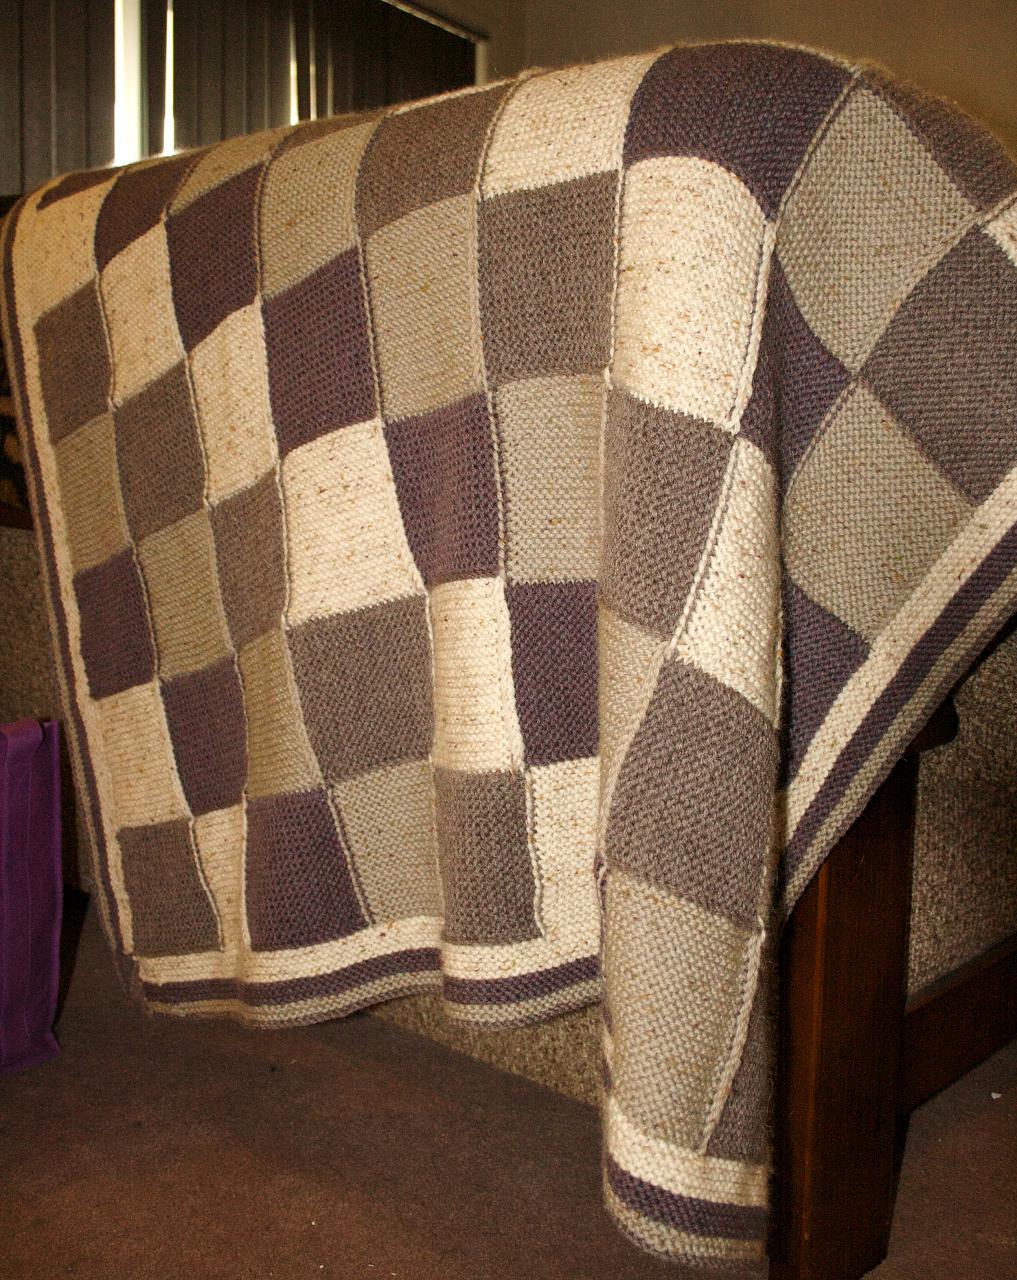
I came up with this design when I really didn't like the idea of knitting the equivalent of 9 scarves and then sewing them all together. I really hate seaming, so an alternative was needed. This is based on the theory on entrelac knitting, but without any starter triangles. The whole thing is knit back and forward in garter stitch, making a lovely soft blanket.
The finished blanket is 115cm (just shy of 4 feet) along each edge.
 Yarn: Bendigo Rustic 12ply 8x200gram balls (270metres per ball)
c1 'Earth' 2x200gram balls
c2 'Cedar fleck' 2x200gram balls
c3 ' Agate' 2x200gram balls
c4 'Natural fleck' 2x200gram balls
Needles:
Knitpicks options: one set 5.5mm needles.
You will need two long (approx 150cm) knitpicks cables and end caps to use as stitch holders for the border stitches. One of these long cables will be used when knitting up the border. (you can use waste yarn to hold you stitches but it is not as convenient as the knitpicks cable)
You will also need 3 stitch markers.
Gauge: 16 stitches and 32 rows = 10cm in garter stitch
Abreviations: SPW - slip the stitch on the needle purlwise with the yarn in front of the needle as if to purl.
Directions:
The squares are worked diagonally, like stair steps. I will refer to each colour change as a 'diagonal'
Diagonal 1: (1 square)
First Square: With C1, cast on 20 Stitches.
Slipping the first stitch of each row purlwise with the yarn in front of the needle (SPW), knit 40 rows garter stitch.

Diagonal 2: (2 squares)
First Square: Leaving your 20 stitches live on one needle, use C2 and cast 20 stitches on the empty needle. Turn your knitting so you are ready to knit the stitches just cast on.
Row 1: SPW, knit to end of row.
Row 2: SPW, knit to last stitch. Knit the last stitch together with one stitch from the first square by slipping the first stitch, knitting the next and then passing the slipped stitch over the first (SSK)
Repeat the last two rows until all stitches from the first c1 square have been knit up.
Last Square: Still using C2, pick up 20 stitches from the side of the
c1 square.
Row 1: SPW, knit 19 stitches, turn
Row 2: SPW, knit to end of row.
Repeat first two rows 19 more times.
You now have three squares of your afghan - one in c1, and two in c2
Diagonal 3: (3 squares)
First Square: using c3, make as for first square of diagonal two.
Middle Square(s): Still using C3, pick up 20 stitches from the side of the first c2 square. Turn
 Border:
Row 1: SPW, knit 19 stitches, turn
Row 2: SPW, knit to last stitch. Knit the last stitch together with one stitch from the next square by slipping the first stitch, knitting the next and then passing the slipped stitch over the first (SSK)
Repeat first two rows 19 more times.
Last Square: Still using C3, pick up 20 stitches from the side of the
next square. Continue as for Last square of Diagonal 2
For diagonals 4 - 9, continue is this manner, adding in middle square repeats as needed. Colour pattern is as follows:
Diagonal 4 (4 squares): c4
Diagonal 5 (5 squares): c1
Diagonal 6 (6 squares): c2
Diagonal 7 (7 squares): c3
Diagonal 8 (8 squares): c4
Diagonal 9 (9 squares): c1
Diagonal 10:
At this stage the afghan has reached its widest and we start to decrease the number of squares in each diagonal. Place the 20 live stitches from the last square of diagonal 9 onto one of your knitpicks cable you are using as a stitchmarker. Using c2, pick up 20 stitches from the side of this square. Work as this as a middle square.
Work a total of 8 Squares along this Diagonal. Put the remaining live stitches onto your other knitpicks cable you are using as a stitch holder. (You will have one cable running along two sides of your afghan - every second diagonal will have live stitches to add to this cable)
Work Diagonals 11 - 17 in the same way working one square less for each diagonal. Each time add the live stitches from the previous Diagonal to your cable stitch holders. The colour pattern for these diagonals are as follows:
Diagonal 11: c3 (7 squares)
Diagonal 12: c4 (6 squares)
Diagonal 13: c1 (5 Squares)
Diagonal 14: c2 (4 Squares)
Diagonal 15: c3 (3 Squares)
Diagonal 16: c4 (2 Squares)
Diagonal 17: c1 (1 Square)
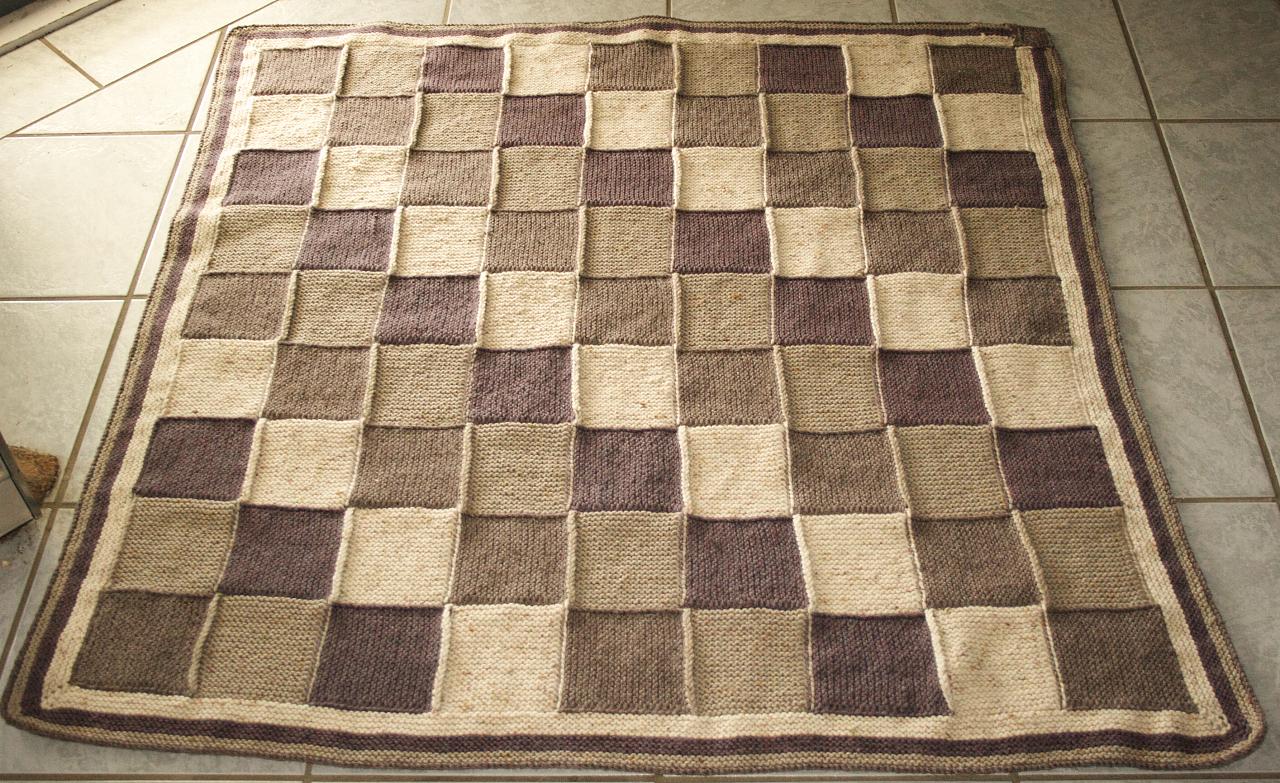
Congratulations - you should now have a total of 81 squares, making a huge square afghan in need of a border!
 Border:
Using c4 pick up or knit* 20 stitches along each square along one side (*where you have live stitches on your holder knit these up rather than picking up stitches). (180 stitches total)
[At the end of the edge wrap the yarn around the needle, pick up a stitch in the corner (mark this stitch), and wrap the yarn around the needle again.
Repeat from [ to ] three more times.
Row 2: Turn and knit to end.
Row 3: Turn, and knit to end - each time you reach a marker increase on stitch on either side by wrapping the yarn around the needle.
Row 4: Turn and knit to end.
Repeat the last two rows twice more with c4, three times more with c3, twice with c2.
Using C1 knit to end of row - each time you reach a marker increase on stitch on either side by wrapping the yarn around the needle.
Using c1 cast off loosely knitwise.
Finishing: Weave in all loose ends! You have just made an afghan with no seeming at all!